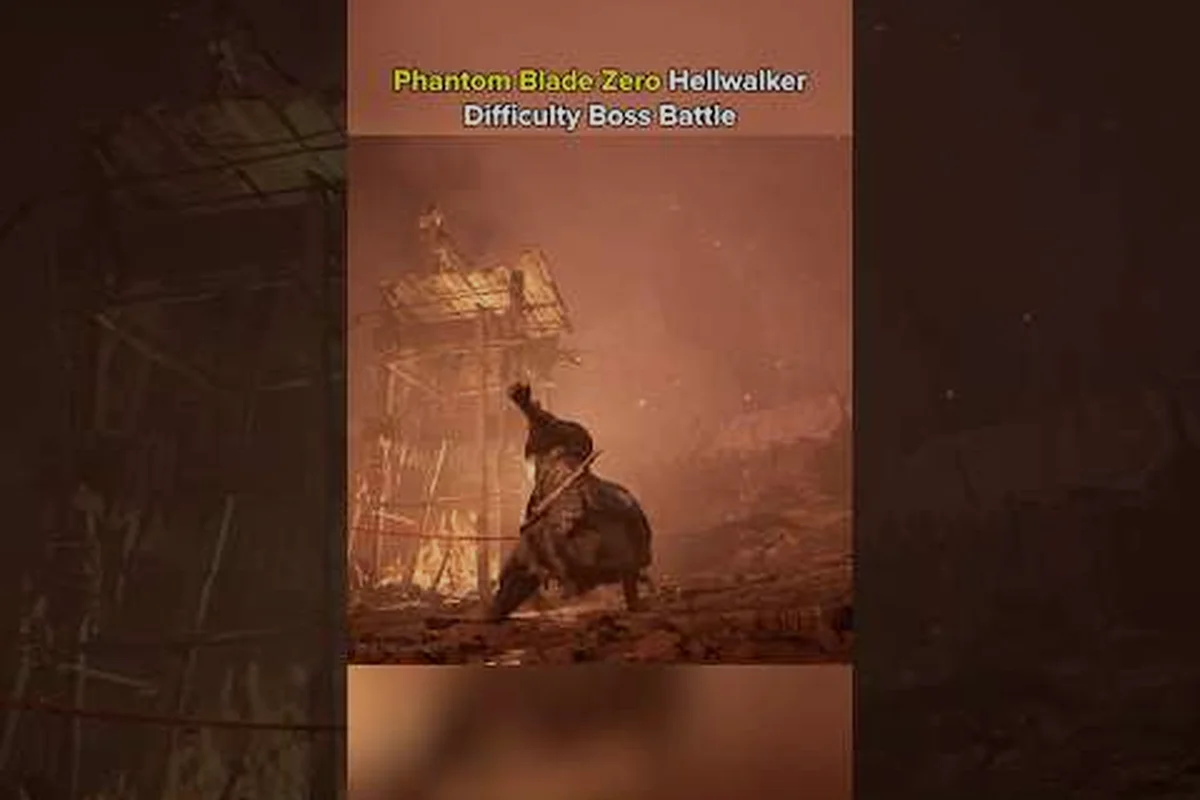
The Phantom Blade Zero Hellwalker difficulty is the unforgiving top tier that converts every encounter into a chess match against thinking enemies, and selecting it signals that you want the game at its sharpest. Enemies read your inputs, punish repeated patterns within seconds, and escalate their aggression the moment you hesitate, which makes brute force approaches completely unviable. Veterans who have cleared Normal and Hard find that Hellwalker is where execution matters more than raw gear, because the AI actively responds to the player's habits rather than running a fixed script. This guide breaks down everything that shifts when you commit to the Phantom Blade Zero Hellwalker difficulty, from parry timing windows and Sha-Chi economy to the way New Game Plus layers fresh punishment on top. Before you lock in the setting, accept that mastery of the combat fundamentals discussed in our Phantom Blade Zero Combat Guide is a hard prerequisite.
What Defines the Hellwalker Difficulty Tier
Hellwalker sits above Hard as the fourth and final difficulty option, and on paper it looks like a simple stat bump. In practice, the mode introduces a fundamentally reactive enemy brain that tracks which attacks you favor, how often you dodge versus parry, and where you tend to position yourself during group fights. The result is an experience that feels closer to a high-level fighting game than a standard action RPG, where reading your opponent becomes just as important as landing hits.
Adaptive AI Vs Scripted Patterns
On Normal and Hard, encounters follow pre-set combo trees that experienced players can memorize after a handful of attempts. Hellwalker replaces this with Adaptive AI, an enemy controller that observes the last 8–12 seconds of your behavior and adjusts its next move accordingly. If you spam dodge rolls, expect unreactable overhead mixups; if you parry on reaction, expect delayed feints that bait your Parry window. According to the Phantom Blade Zero on Steam store description, the development team modeled this layer after competitive fighting game opponents, which is why the challenge feels less like a numbers game and more like a genuine duel.
Damage Curve and Stamina Changes
Enemy damage scales up roughly 2.3× compared to Hard, and your healing effectiveness drops by about 25%, which means a single mistimed block can swing a fight. Stamina regeneration also slows noticeably, so spamming dodges or chained attacks drains the recovery resource faster than lower tiers. The table below summarizes the rough adjustments, based on community testing conducted shortly after launch.
| Stat Modifier | Normal | Hard | Hellwalker |
|---|---|---|---|
| Enemy Damage | 1.0× | 1.5× | ~2.3× |
| Healing Received | 100% | ~85% | ~75% |
| Stamina Regen Rate | 1.0× | ~0.9× | ~0.7× |
| Parry Window | 12 frames | 9 frames | 6 frames |
| AI Adaptation Latency | None | Minimal | 8–12 seconds |
That 6-frame parry window is the headline change, because it shrinks the reaction tolerance to a level that demands consistent prediction rather than reading animations after they start.
How Hellwalker Alters Enemy Behavior
Beyond numbers, the way encounters unfold changes dramatically. Hellwalker adds punish logic that triggers after specific mistakes, plus a tendency system that gives every enemy archetype its own short-term memory of how you fight them.
Boss Pattern Reading and Punish Windows
Bosses gain three new punish windows that do not exist on lower settings: a guaranteed follow-up after a whiffed heavy attack, an interrupt that catches greedy dash-in attempts, and a late-swing armor break on Ranged stance transitions. According to the official site at pbz.s-game.com, these punish hooks are designed to reward players who master spacing and Sha-Chi stance management rather than those who simply memorize combo lists. A common example is the Crimson Warden mini-boss, who now closes distance the instant you finish a charged heavy, which forces you to cancel into a Ghostep instead of committing to the recovery frames. If you are still building fundamentals, our Phantom Blade Zero Beginner Guide covers the earlier encounters where these mechanics first appear in tamer form.
Mob Aggression and Group Coordination
Standard mobs gain an "alpha" leader buff when three or more are alive, increasing their attack speed by roughly 15% and forcing you to either isolate threats quickly or accept that the entire group will behave like a single coordinated unit. Lone enemies become more dangerous individually because Hellwalker removes the predictable pause between attacks that gives players breathing room on Normal. The table below captures how encounter dynamics shift, based on player reports from the launch period.
| Encounter Type | Normal Behavior | Hellwalker Behavior |
|---|---|---|
| 3+ Mob Group | Sequential aggression | Coordinated alpha buff, 15% attack speed |
| Solo Enemy | Single combo, clear pause | Flurry chains, no recovery window |
| Mini-Boss | Punishes whiffed heavies | Punishes whiffed heavies, greed dashes, and stance commits |
| Main Boss | Combo scripted, beatable by damage race | Combos branch based on player tendency, punish hooks on mistakes |
| Ranged Stance | Reset distance after burst | Rushes mid-recovery if player used heavy recently |
This is why many community recommendations start with "play the first hour on Hard first," because adapting to the AI takes longer than the stat curve suggests.
Core Combat Adjustments for Hellwalker
Your entire combat loop needs to be re-tuned. The moves that win on Normal become liability on this tier, because the AI punishes anything it has seen twice.
Parry Timing Becomes Reactive
On Hard, parrying on reaction is feasible because the window is forgiving. Hellwalker cuts that window down to 6 frames and adds delayed feints, which means the only reliable approach is predictive parrying, where you commit to the parry input based on the enemy's tendency rather than the active animation. This is the single biggest adjustment players struggle with, and it pairs naturally with the broader Phantom Blade Zero How To Parry techniques. Predictive parry means tracking which two attacks an enemy favors in a given attempt and committing to the match-up, which feels close to a mind game with another human rather than a timer.
Sha-Chi Resource Management
Sha-Chi is the tension gauge that fuels your heavy finishers and stance transitions, and on Hellwalker it becomes the difference between winning and losing a long encounter. Because stamina regenerates slower and healing is reduced, you cannot trade Sha-Chi carelessly; each finisher must land, and each transition must produce value. A reasonable rule is to spend only 60–70% of your gauge on damage windows and reserve the final third for emergency S-Counter or Ghostep escapes. This kind of reserved economy rewards players who already manage the resource cleanly on lower tiers, and pairs well with our Phantom Blade Zero Sha Chi Guide for players who want a deeper breakdown.
Ghostep and Breached State Recovery
When your guard breaks, you enter the Breached state, a vulnerable window where the next clean hit will down you. Hellwalker shortens the recovery and gives enemies a guaranteed combo starter the moment they detect breach cues. The fix is aggressive use of Ghostep, the dash-while-downed escape that costs a tiny amount of Sha-Chi but cancels the vulnerability entirely. Pairing Ghostep with an immediate S-Counter can turn a near-death situation into a reversal, which is a key technique detailed in the Phantom Blade Zero Ghostep Explained breakdown. Players who panic after a breach tend to feed combos; players who Ghostep and reset pressure tend to stabilize the fight.
| Defensive Mechanic | Window on Hellwalker | Cost |
|---|---|---|
| Parry | 6 frames | Stamina |
| Dodge | 9 frames | Stamina |
| Ghostep (post-breach) | 18 frames | 10 Sha-Chi |
| S-Counter | 5 frames | 25 Sha-Chi |
| Breached Recovery | 2.4 seconds | N/A |
| Block | Reduce damage by 60% | Stamina |
These numbers, captured through community testing, may vary slightly after balance patches, but the relative priorities remain stable.
Gear, Weapons, and Build Requirements
Hellwalker does not require a specific meta build, but several weapon archetypes and consumable choices make the climb far less painful than the alternatives.
Recommended Weapon Archetypes
Fast weapons with built-in Tendency Patterns (attack strings that chain into different finishers) let you vary your timing so the adaptive AI cannot lock onto a habit. The Frostbite Knuckles excel at interrupting alpha-mob groups because their light attacks stagger and their heavy finisher applies a brief chill. The Sky Piercer, a fast spear, dominates single-target fights because it has the longest reach and the cleanest cancel options into Ghostep. Slow weapons can still work, but they punish mistakes harder because recovery is longer, so we recommend at least one medium-speed primary before you commit to a slow secondary.
Healing Pouch and Consumable Priority
Healing Pouches restore 30% of your max health on Normal but only ~22% on Hellwalker, so you must use them strategically rather than as panic buttons. Carry at least one instant-revive Snakebite Venom in case a boss punishes a breached state you cannot escape, and keep a stack of Ember Seal resin for when stamina economy slips during long mob corridors. The table below lists the loadout players consistently succeed with on this tier.
| Slot | Recommended Option | Reason |
|---|---|---|
| Primary Weapon | Frostbite Knuckles or Sky Piercer | Stagger / reach advantage |
| Secondary Weapon | Iron Body tonfa | S-Counter follow-up |
| Healing | Snakebite Venom + 3 Pouches | Save pouch for clutch windows |
| Buff | Ember Seal | Stamina recovery on demand |
| Sha-Chi Talisman | Crimson Ledger charm | Build gauge during safe windows |
Build diversity still matters, so consider experimenting once the meta stabilizes, but this loadout is the safest entry point for first-time Hellwalker attempts.
NG+ Layer Applied to Hellwalker
New Game Plus on this tier does not reset gear, but it adds a fresh scaling layer that compounds the existing challenge. According to coverage from IGN's look at the punishing action RPG, NG+ introduces harder enemy scaling plus upgraded gear drops, which means enemies hit harder and your equipment carries more modifiers at the same time.
| NG+ Cycle | Enemy HP | Enemy Damage | Drop Tier | AI Adaptation Speed |
|---|---|---|---|---|
| Base | 1.0× | 1.0× | Tier 4 | Standard |
| Cycle 1 | 1.4× | 1.2× | Tier 5 | 6–10 sec |
| Cycle 2 | 1.8× | 1.5× | Tier 6 | 4–8 sec |
| Cycle 3+ | 2.2× | 1.8× | Tier 7 | 3–6 sec |
Notice how AI adaptation speed tightens with each cycle, which means NG+3 on Hellwalker is effectively a different game than Hellwalker base. If you want to explore lighter NG+ pacing first, the Phantom Blade Zero Tips And Tricks piece covers safer entry routes for farming and unlock pacing.
Endgame Survival Strategies for Hellwalker
Once you have a build and a recovery loop, the remaining workload is discipline. The most common Hellwalker deaths are not from under-geared players but from those who break their own rhythm right when the AI is about to fold.
Maintain Tendency Variation
Because Adaptive AI remembers your last 8–12 seconds, vary the first attack of every engagement. Open with a light, then a heavy, then a dodge-then-parry. Even two consecutive identical openings can be enough for the AI to choose a counter-read on the third exchange, which is why many players fail their first encounter but clear it on the second attempt.
Save Pouches For Damage Trades, Not Healing Panic
On Hellwalker, healing from full health wastes pouches. Use them only when you have traded damage and the AI is about to set up a kill sequence, because that is the moment a 22% heal swings the math in your favor. Saving for the breach recovery is also valid, since Phantom Blade Zero Breached State Recovery shows how a clutch heal right after Ghostep can fully reset a lost fight.
Stop Greeding Damage
Heavy finishers and uncharged heavies both feed the AI punish windows. If you have not seen a safe opening twice in the same minute, you are likely in an AI trap, and pulling back to bait a new pattern cycle often saves more health than committing. This single mindset shift is what separates first-time Hellwalker clears from repeated wipes, because the mode is built to punish aggression patterns even when the player's build is more than capable of winning.
What was the toughest encounter you faced on the Phantom Blade Zero Hellwalker difficulty, and which adaptive AI pattern finally broke your streak? Share your worst punish moment or favorite reversal in the comments below, and if this guide helped you push past your first Hellwalker wall, pass it along to a friend still stuck on the same boss.
Frequently Asked Questions
What is the Phantom Blade Zero Hellwalker difficulty in one sentence?
It is the highest base difficulty, featuring adaptive AI that reads player behavior, a 6-frame parry window, reduced healing effectiveness, and the fastest stamina drain of any tier.
Should I play Hellwalker on my first playthrough?
No, most community testing indicates that new players clear the game once on Normal or Hard first, because the parry window and AI reading require combat fundamentals that are not yet developed early on.
Does gear carry over into Hellwalker New Game Plus?
Yes, weapons, charms, and consumables persist into NG+, while enemies gain scaling HP, damage, and faster AI adaptation latency as listed in the NG+ scaling table above.
What is the fastest way to improve on Hellwalker?
Focus on predictive parrying, vary your opening tendency every encounter, and save healing pouches for damage trades rather than panic, because the mode punishes both greed and routine heavily.
Which weapon is strongest on Hellwalker?
The Frostbite Knuckles and Sky Piercer both shine, with the knuckles dominating group stagger and the spear dominating single-target reach, while slow weapons require far tighter execution to remain viable.